ingrown hairs
How to get rid of ingrown hair: the no-bs guide to smooth skin

Let’s be real – ingrown hairs are the unwelcome party crashers of the hair removal world. You’ve done the work, endured the pain of waxing or the tedium of shaving, only to be rewarded with angry red bumps that look like teenage acne had a tantrum on your skin. And don’t even get us started on those painful, pus-filled monsters that make you walk funny for days.
Enough is enough. You shouldn’t have to choose between smooth skin and comfortable skin. It’s 2026, and we’re done pretending that ingrown hairs are just “part of the process” or something women should silently endure. Read on to discover how to tackle these skin saboteurs like the badass you are…
Key takeaways
-
Essential extraction tools : Use sterile, fine-point tweezers and needles rather than unsterilised household items.
-
Assess the area: Distinguish between surface-level hairs (DIY-friendly) and deep cysts that require professional care.
-
Preparation is vital: Use warm compresses and chemical exfoliants (Salicylic or Glycolic Acid) to soften skin before extraction.
-
Prevent future ingrowns: Lift the hair loop gently and pull in the direction of hair growth to avoid breakage.
-
Safe extraction technique: Shave in the direction of hair growth, use sharp blades, and exfoliate 2–3 times a week.
-
Post-removal care: Apply antiseptic and cold compresses immediately after extraction to reduce inflammation.
Step 1: Arm yourself with the right tools and say goodbye to guesswork
Here’s the uncomfortable truth: most women are fighting ingrown hairs with whatever random tools they find in their bathroom drawer. That rusty pair of tweezers from 2015? Those nail scissors you also use to open packages? No wonder your skin is staging a rebellion.
An ingrown hair occurs when hair grows back into the skin instead of rising outward, curling beneath the surface and causing inflammation. To tackle this properly, precision and sterility matter infinitely more than price tags. The myth that expensive equals better when it comes to extraction tools is just that – a myth. What actually matters is a fine tip, sterilisable material, and a grip that won’t slip when you need it most.
Your essential toolkit includes:
-
Sterile tweezers with a fine point that can grip individual hairs without mauling the surrounding skin.
-
A fine-point sterile needle for lifting trapped hair loops.
-
A magnifying mirror (because guesswork never ended well for anyone).
-
Proper lighting that doesn’t cast shadows on your battlefield.
Why won’t your bathroom tweezers cut it? Because dull razors and unsterilised tools are practically invitations for bacteria to set up camp in your hair follicle. Always use a clean razor to help prevent ingrown hairs and skin irritation. Improper shaving techniques or using dull or dirty tools can increase the risk of developing ingrown hairs, especially for those with thick or curly hair. Improper extraction increases the risk of tearing skin, leaving broken hairs inside, and creating an even bigger mess than you started with.
Beyond extraction, you need gentle exfoliating tools and anti-inflammatory treatments in your arsenal. Chemical exfoliants like salicylic acid (2–5%) and glycolic acid (5–10%) work to break down dead skin cells and prevent the follicular plugging that causes this nightmare in the first place.
Step 2: Assess your ingrown hair battlefield
Not all ingrown hairs are created equal, and treating a surface-level annoyance the same as a deep cyst is like bringing a butter knife to a sword fight.
-
Surface-level ingrown hairs show a visible hair loop or tip just beneath the skin surface. They’re more itchy than painful, with some redness and possibly a mild pustule. These are your DIY candidates.
-
Deep cysts are a different beast entirely. An ingrown pubic hair cyst sits deeper in the dermis, often painful, larger, and potentially requiring professional intervention.
-
Pseudofolliculitis barbae: If you’re dealing with chronic recurring ingrowns, especially in the beard area or bikini line, you might be experiencing this pattern of inflammation that affects people with curly, coarse hair more frequently.
When to DIY vs. when to see a professional:
-
DIY is appropriate when the trapped hair is visible or you can see a loop just under the skin with no heavy swelling or signs of infection.
-
See a dermatologist if the lesion is large, deep, or painful; if you notice signs of infection such as increased pain, swelling, redness, and pus formation; if the condition keeps recurring; or if you have darker skin and are concerned about hyperpigmentation or keloid formation.
Red flags that mean stop everything:
-
Rapid spreading of redness or swelling.
-
Fever or lymph node swelling.
-
Discolouration that worsens over several days.
-
A bump that persists beyond two weeks.
Ingrown hair bumps can be mistaken for acne, folliculitis, or keratosis pilaris. The key difference? Ingrown hairs typically have a visible hair loop or tip, and inflammation centres directly on the hair follicle.
Pro tip: photograph problem areas every few days using the same angle and lighting. Documentation matters when you’re trying to track whether swelling is reducing or if that hair is finally coming to the surface.
Step 3: Soften and prep like your skin depends on it
Because it absolutely does. Rushing straight to extraction without proper preparation is the amateur move that breaks hairs, leaves fragments behind, and causes ten times more inflammation than you started with.
-
The 15-minute warm compress technique: Soak a clean wet cloth in warm water and apply to the affected area for 10–15 minutes, several times daily. This softens the skin, opens follicular orifices, and makes extraction dramatically safer and less traumatic. Alternatively, spend this time in a warm shower or warm bath, letting the steam do the work.
-
Gentle circular exfoliation: Using a soft brush, wet washcloth, or damp cloth, gently exfoliate the area in a circular motion to remove dead skin cells and loose hair. This breaks down the upper layers that trap hair beneath the surface. Regular exfoliation, at least 2–3 times a week, can help prevent hair follicles from becoming blocked.
-
Chemical exfoliation for stubborn cases: Topical creams containing ingredients like Salicylic Acid or Glycolic Acid can help exfoliate and reduce inflammation. Salicylic acid (1–2%) and glycolic acid (5–10%) dissolve the “glue” between dead keratinocytes, reducing the plug formation that traps hairs.
-
The steaming method: For particularly stubborn ingrowns, targeted steam (via a hot shower or a bowl of steaming water) opens pores and softens the skin barrier even more effectively than a compress alone.
The non-negotiable rule: never attempt extraction on dry, unprepared skin. Trying to remove hair without proper prep almost always breaks the hair shaft, leaving fragments that cause bigger problems than the original ingrown.
Essential ingrown hair removal kit
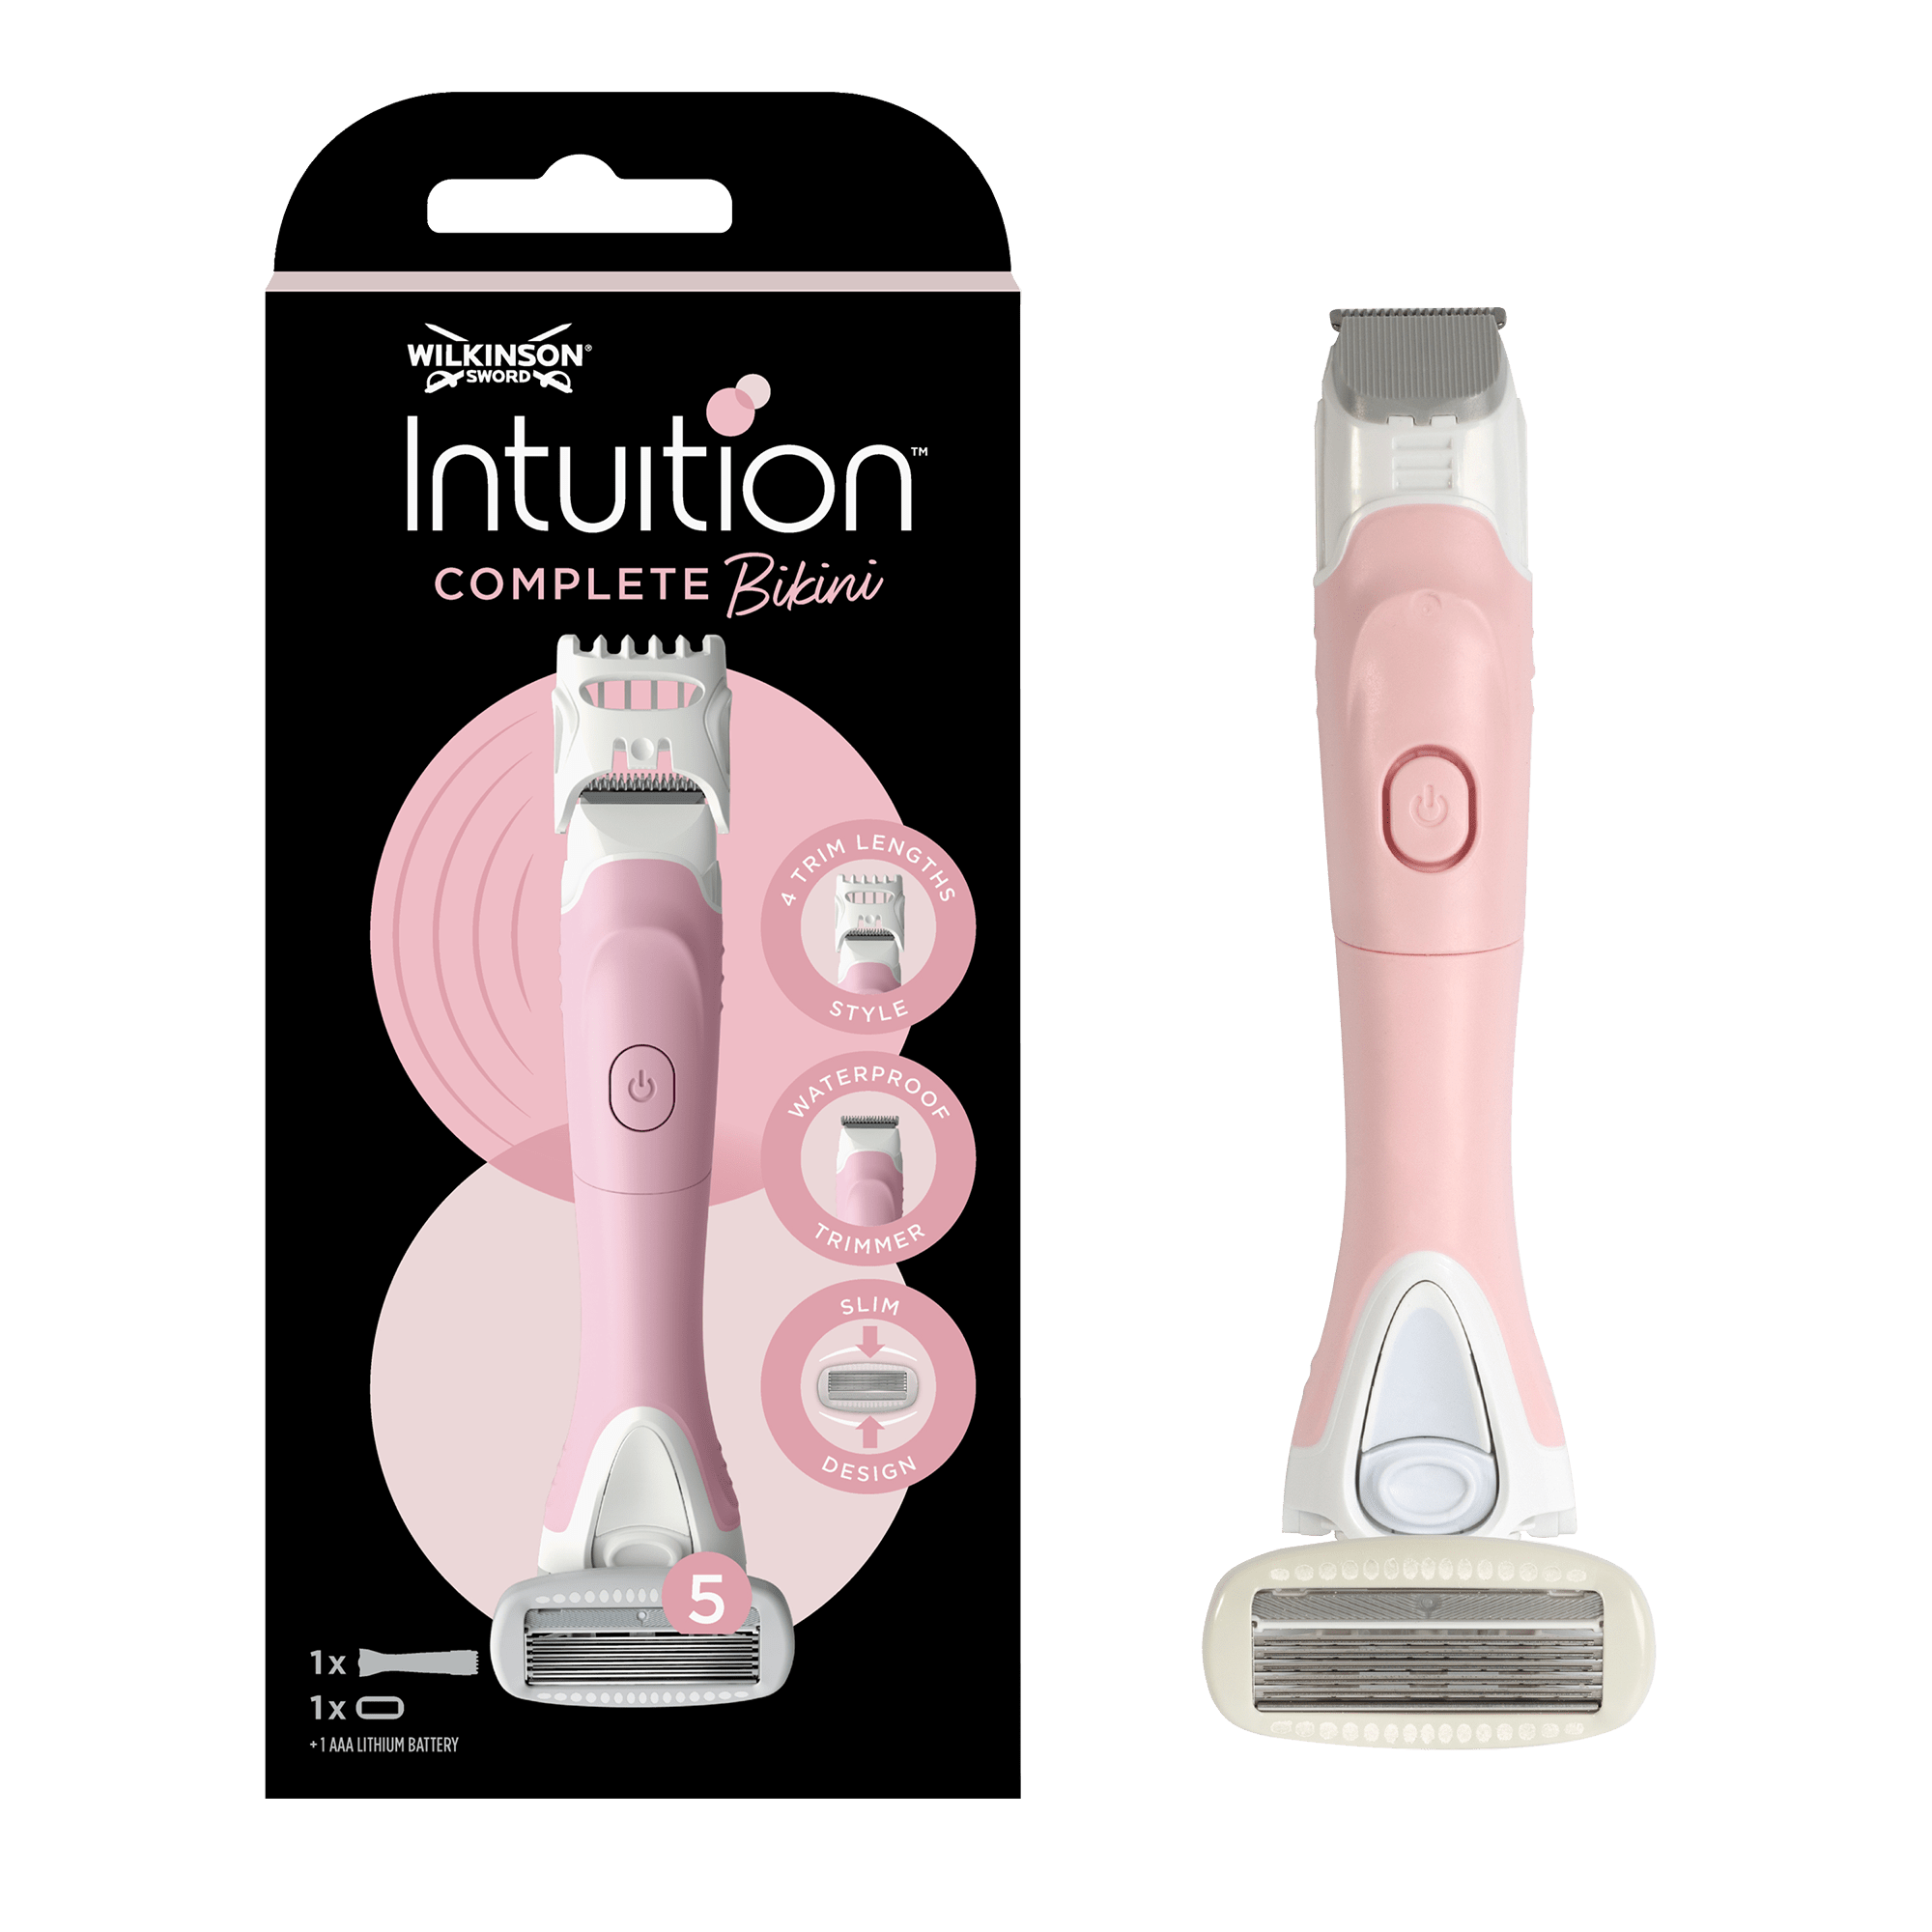
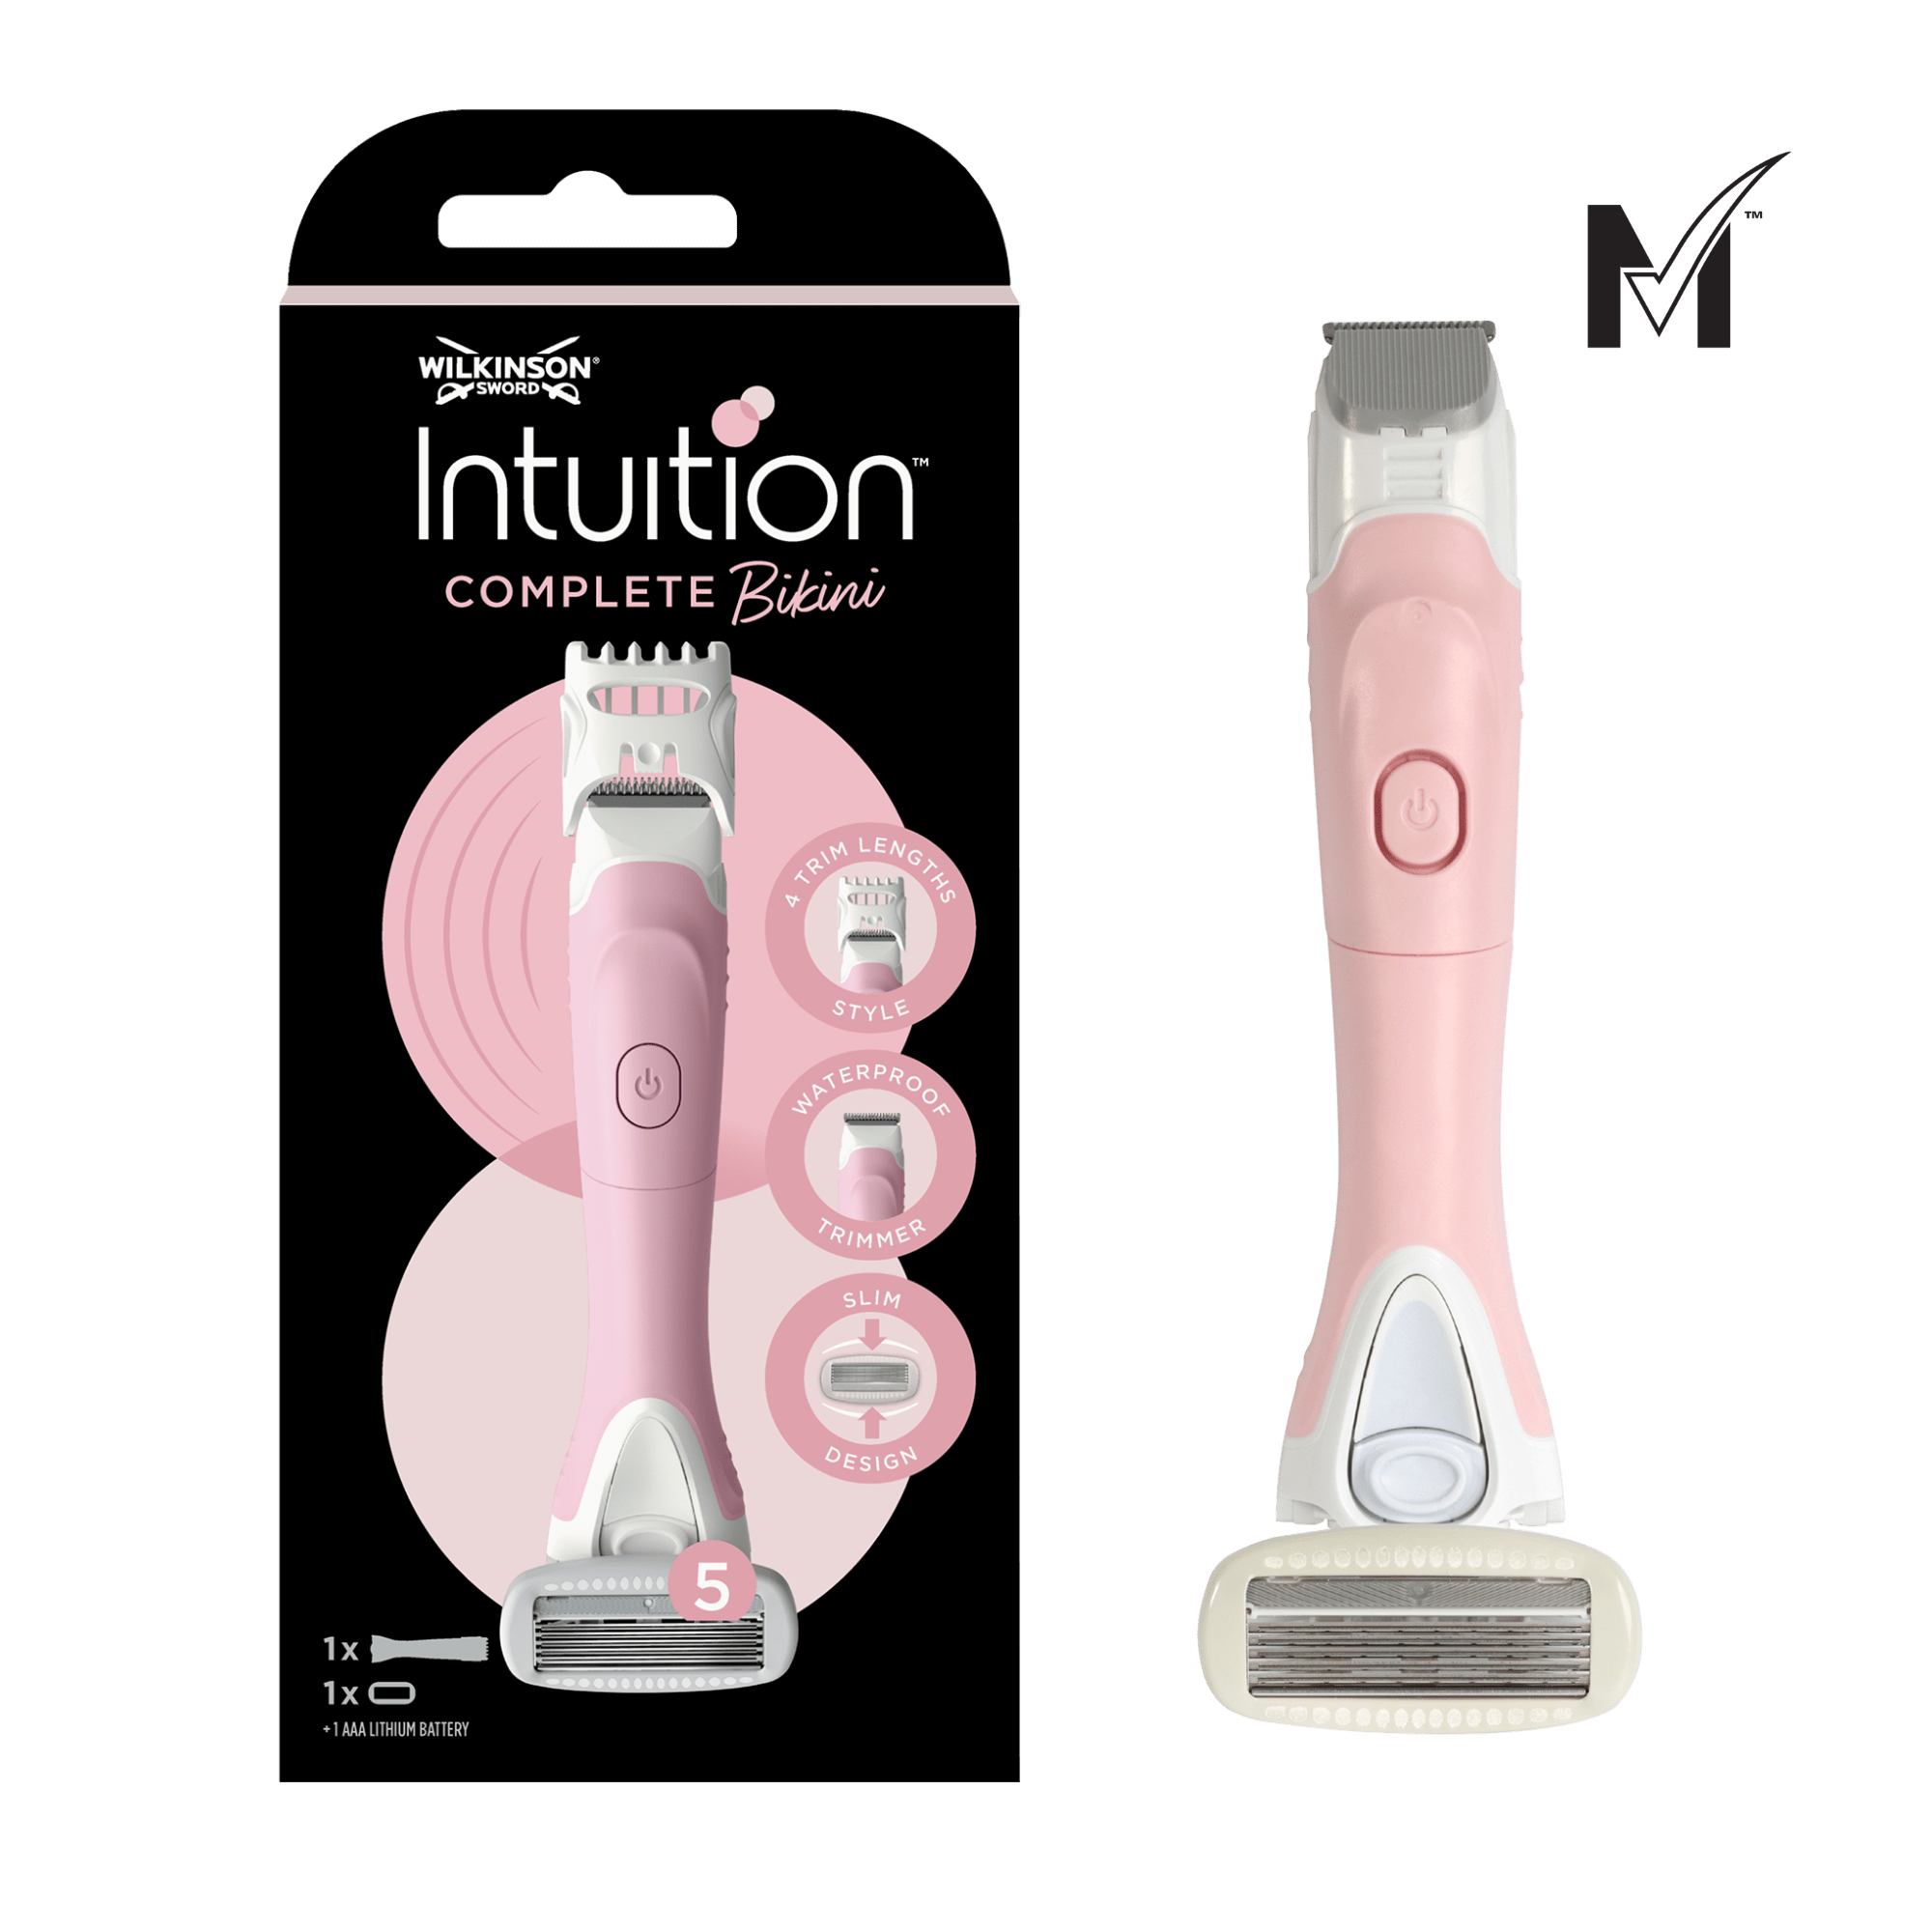
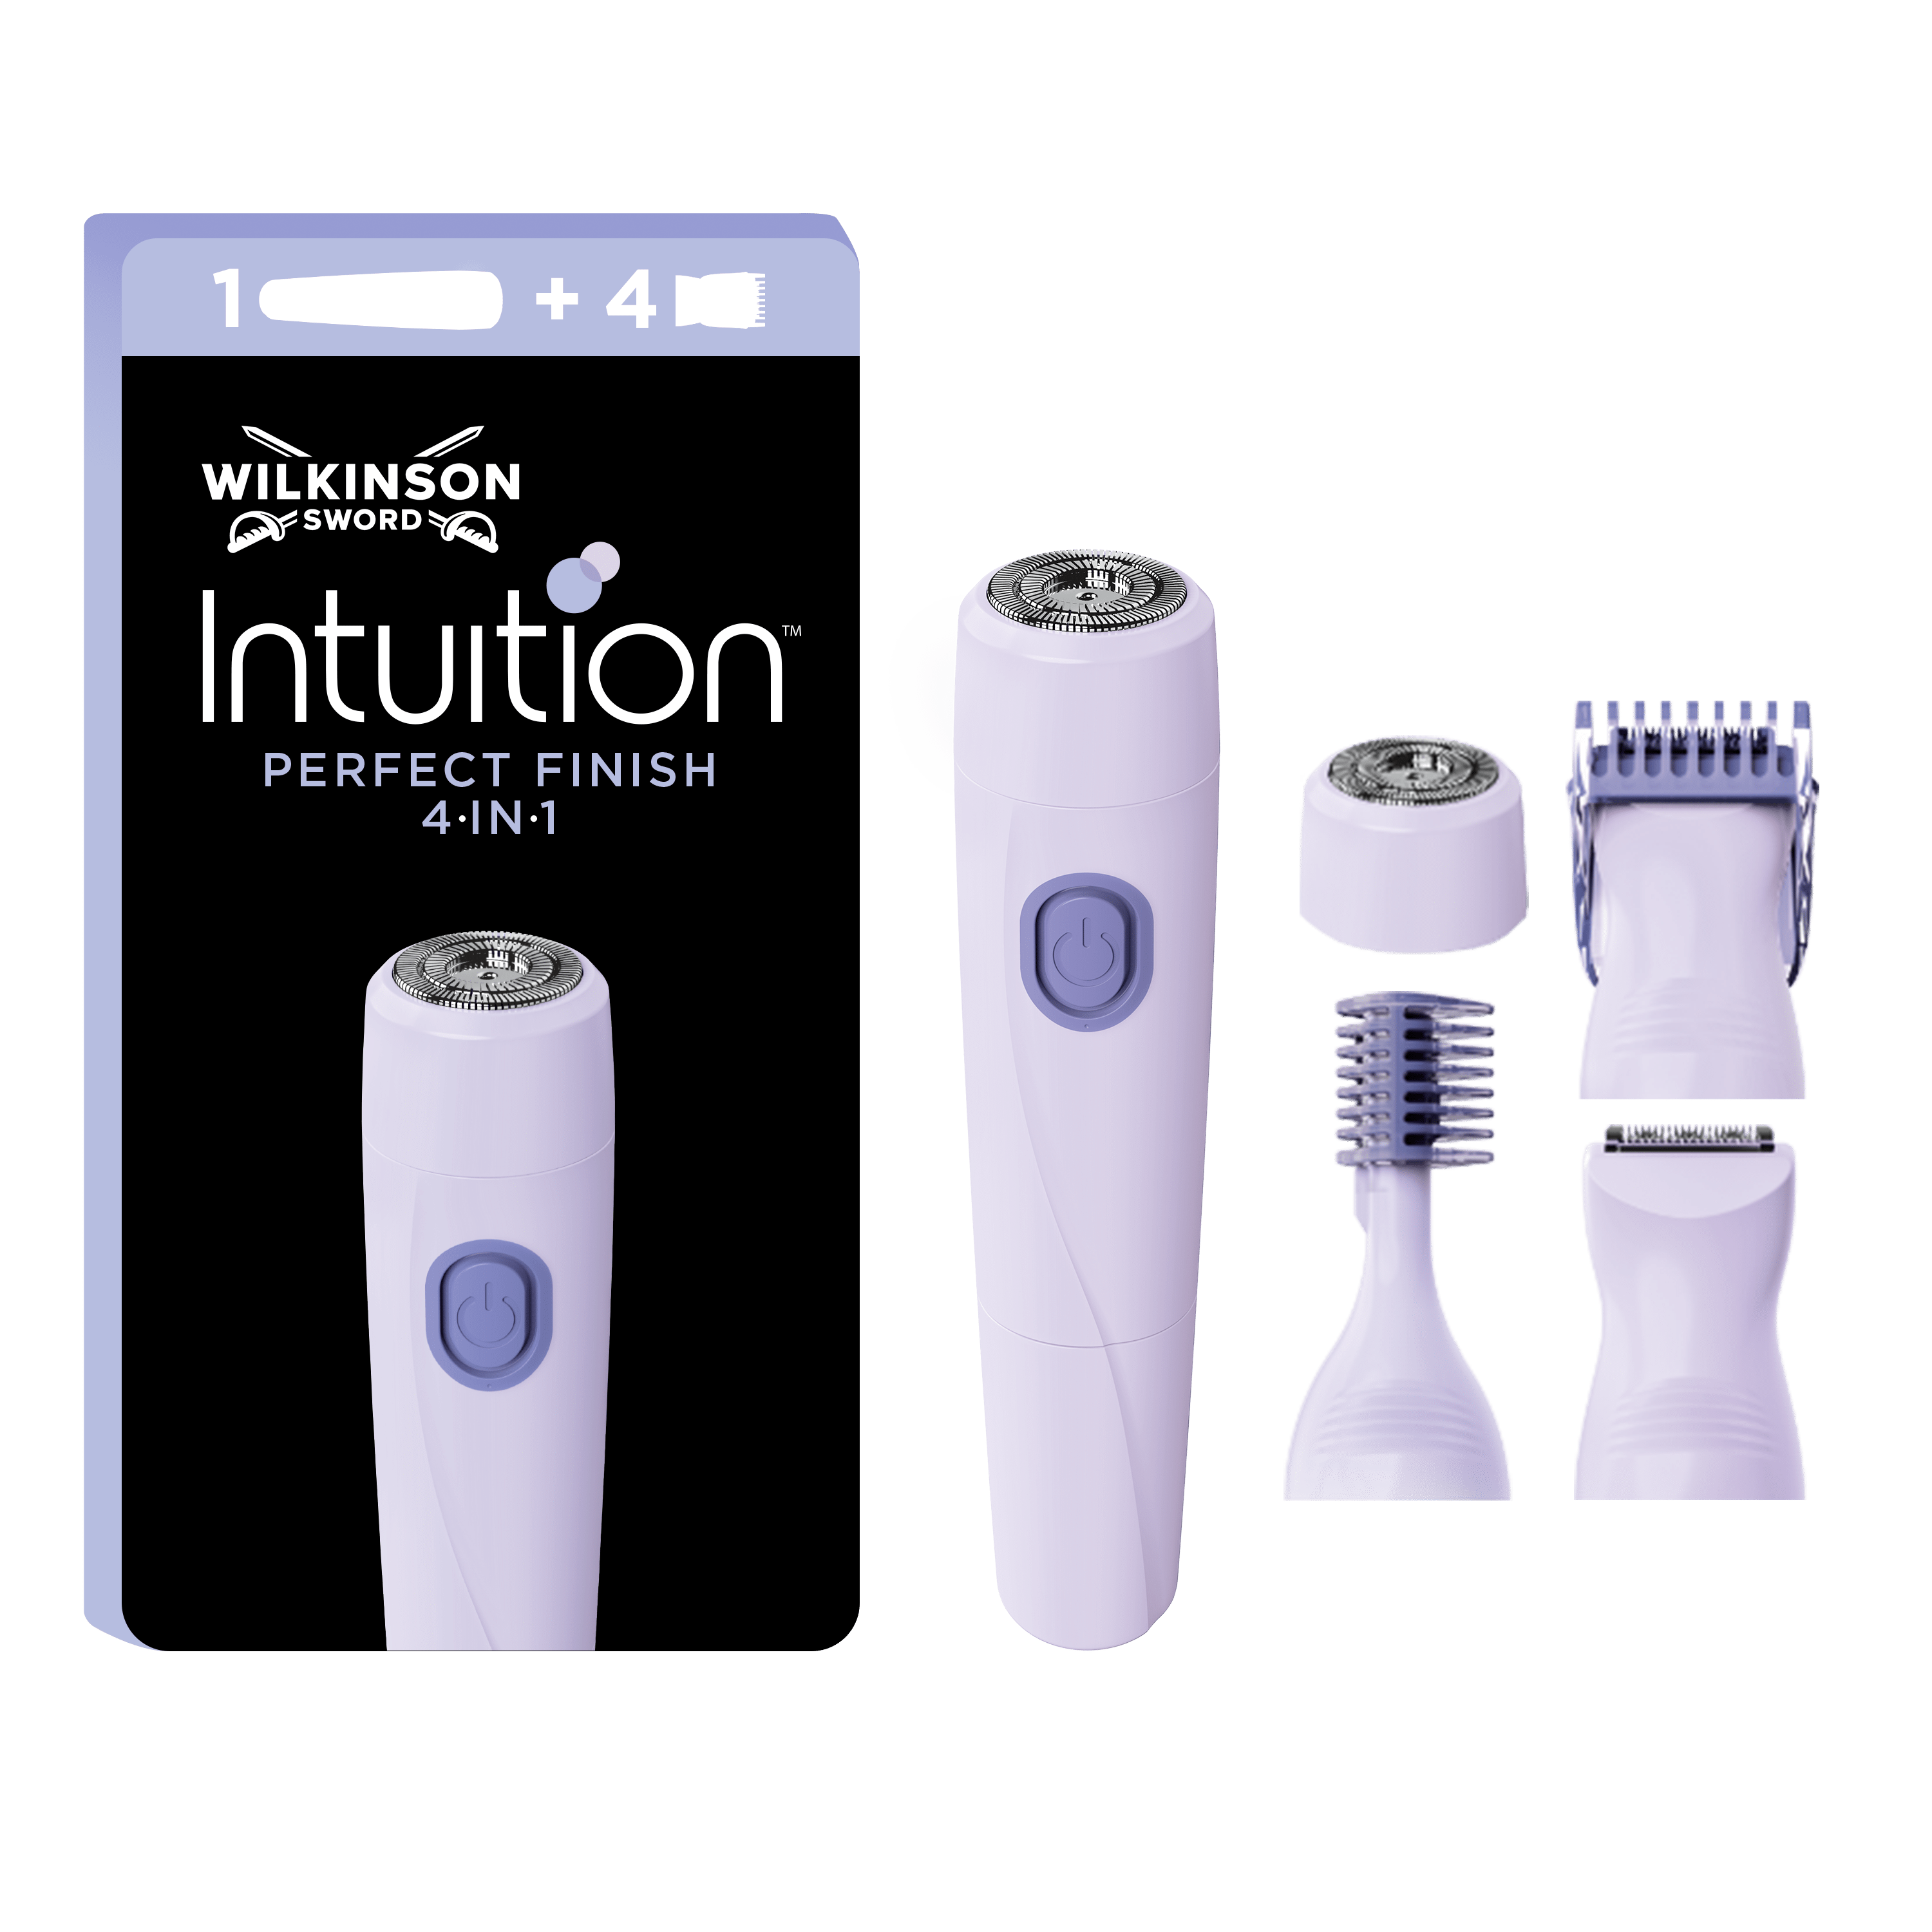
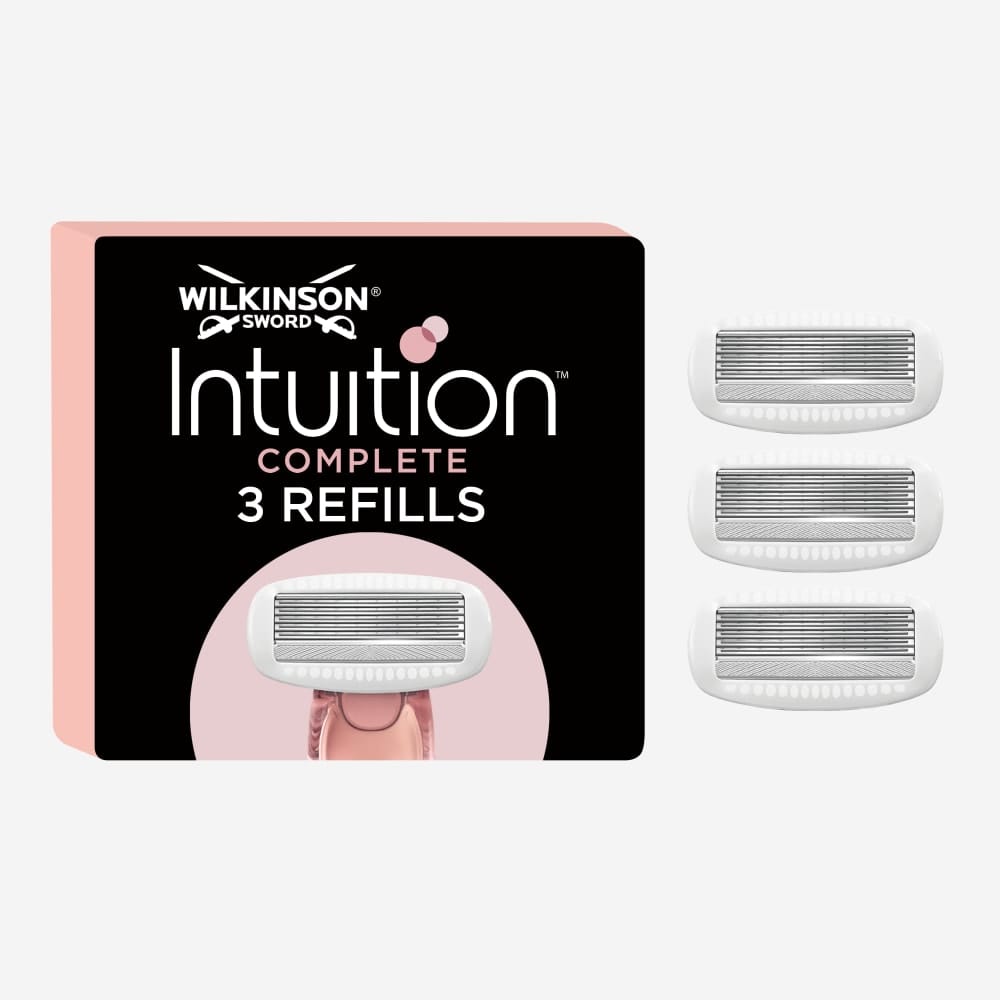
A 5-blade razor and trimmer in one, allowing you to trim and shave with one tool! Trimmer with four attachments to shape eyebrows, facial hair and bikini zone. Refill pack for Intuition Complete Razor. 5 blades. Slim razor head for bikini area
Intuition Complete Bikini Razor & Trimmer
Intuition 4 in 1 Perfect Finish
Intuition Complete Razor Blades
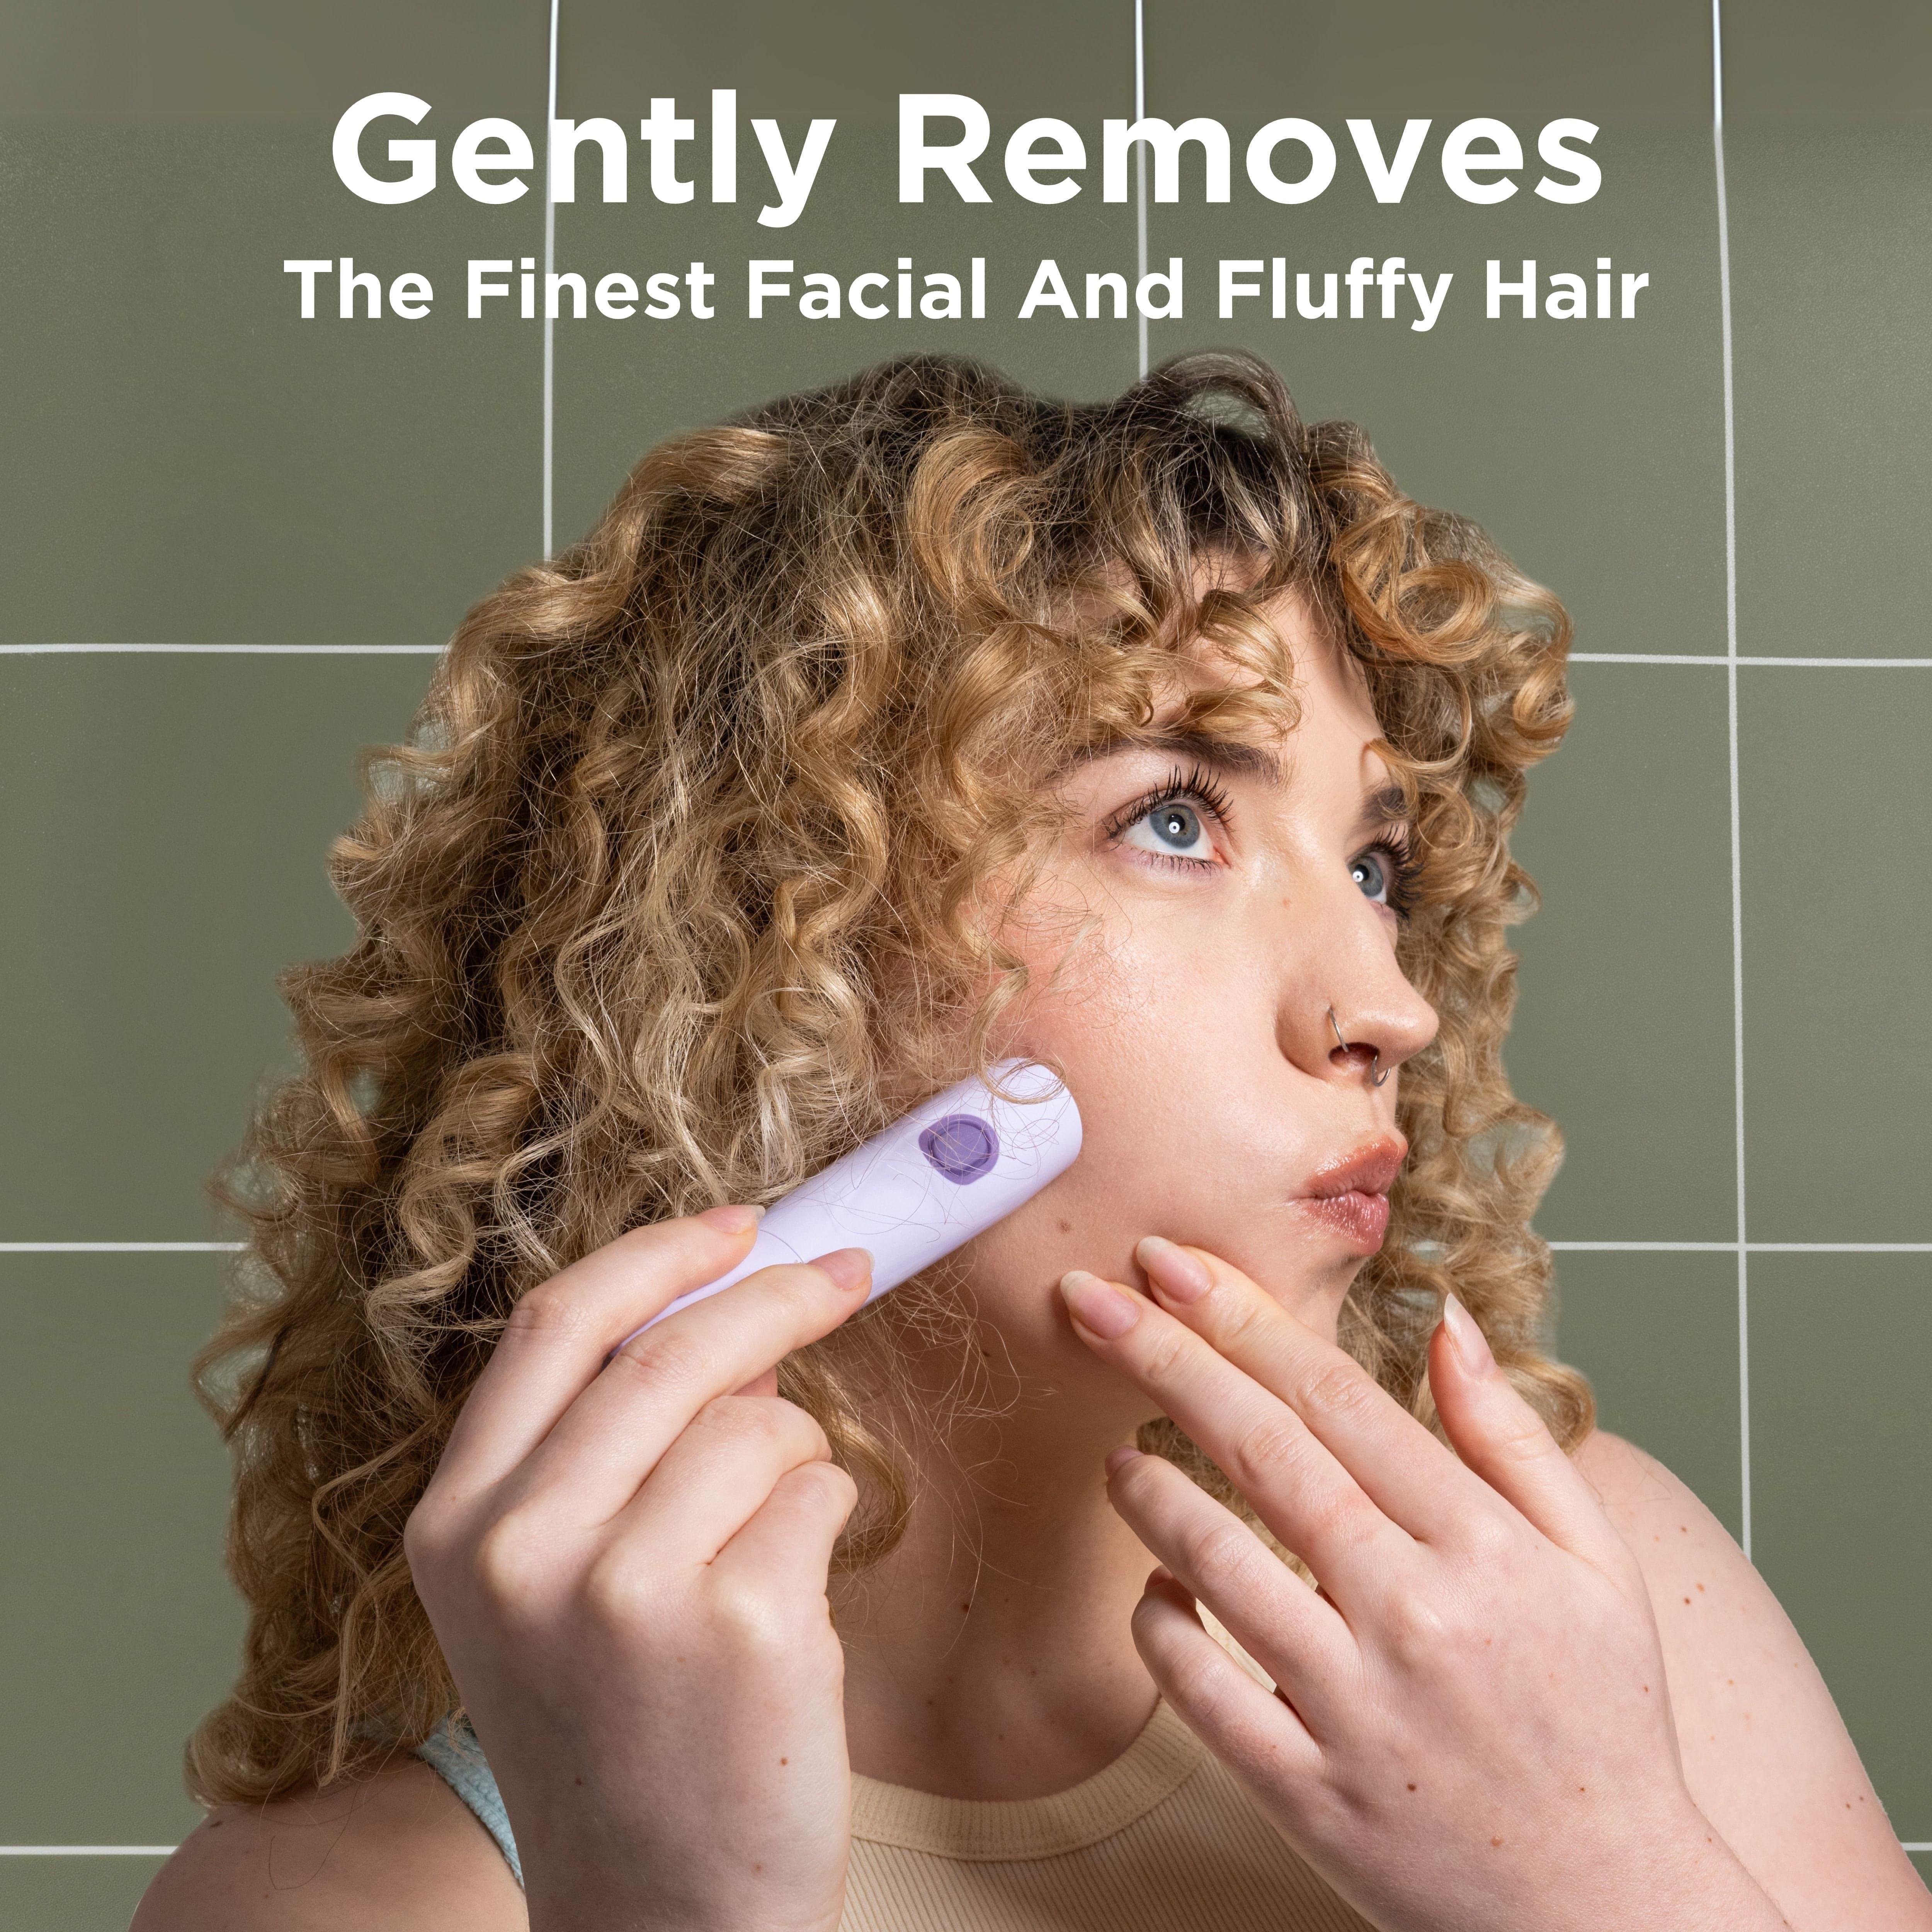
Additionally, invest in sterile extraction tools (available at most pharmacies for under £10), salicylic acid pads for daily prevention, and a gentle physical exfoliator like a soft-bristled body brush.
Step 4: Master the art of safe extraction
This is where patience stops being optional. Most ingrown hairs heal on their own within one to two weeks, so extraction is only necessary when you can clearly see the hair and want to speed along the process.
Step-by-step technique:
-
After your warm compress routine, clean the affected area with a mild antiseptic.
-
Position yourself with magnification and strong, direct lighting.
-
Insert your sterile needle under the visible loop of hair – not into it, just underneath – and gently lift upward.
-
Once the hair end is accessible, use your sterile tweezers to gently pull the hair free.
-
Work with the hair growth direction, not against it – this reduces tissue resistance and prevents breaking.
When to stop and try again later:
-
If you can’t see a clear loop or tip near the skin surface.
-
If extraction would require digging or significant force.
-
If you’ve been at it for more than a few minutes without success.
Patience is not optional here. Aggressive extraction damages surrounding skin and often pushes the problem deeper. If the hair breaks during extraction: Stop immediately. Do not dig further. Clean the area, apply a mild antiseptic, and allow the fragment to work its way out naturally.
Step 5: Treat the aftermath and prevent infection
Extraction is only half the battle. What you do in the hours and days afterward determines whether you heal cleanly or end up with scarring and discolouration.
-
Immediate aftercare: Apply antiseptic solution to the extraction site immediately. Then apply a cold compress – a wet washcloth soaked in cold water works perfectly – for 5–10 minutes to reduce inflammation and calm irritated skin.
-
Topical treatments: Use an antibiotic cream if you notice mild infection signs like yellow pus. Steroid cream (like 1% hydrocortisone) can reduce inflammation and itching, but use it short-term only (no more than one to two weeks).
Signs that require immediate medical attention:
-
Swelling spreading beyond the original site.
-
Fever.
-
Red streaks radiating from the area.
-
Cysts that don’t resolve after two weeks.
-
Keloid formation, especially if you have darker skin.
Why picking at the area will set you back weeks: Every time you pick, you introduce bacteria, deepen inflammation, and dramatically increase your risk of hyperpigmentation and scarring. The temporary satisfaction is never worth the extended healing time. Just don’t.
Step 6: Revolutionise your hair removal routine
Here’s where we prevent future ingrown hairs instead of just treating them after the fact. Adopting proper shaving and aftercare routines is key to prevent future ingrown pubic hairs and keep your skin healthy.
Hair removal methods ranked by ingrown risk:
-
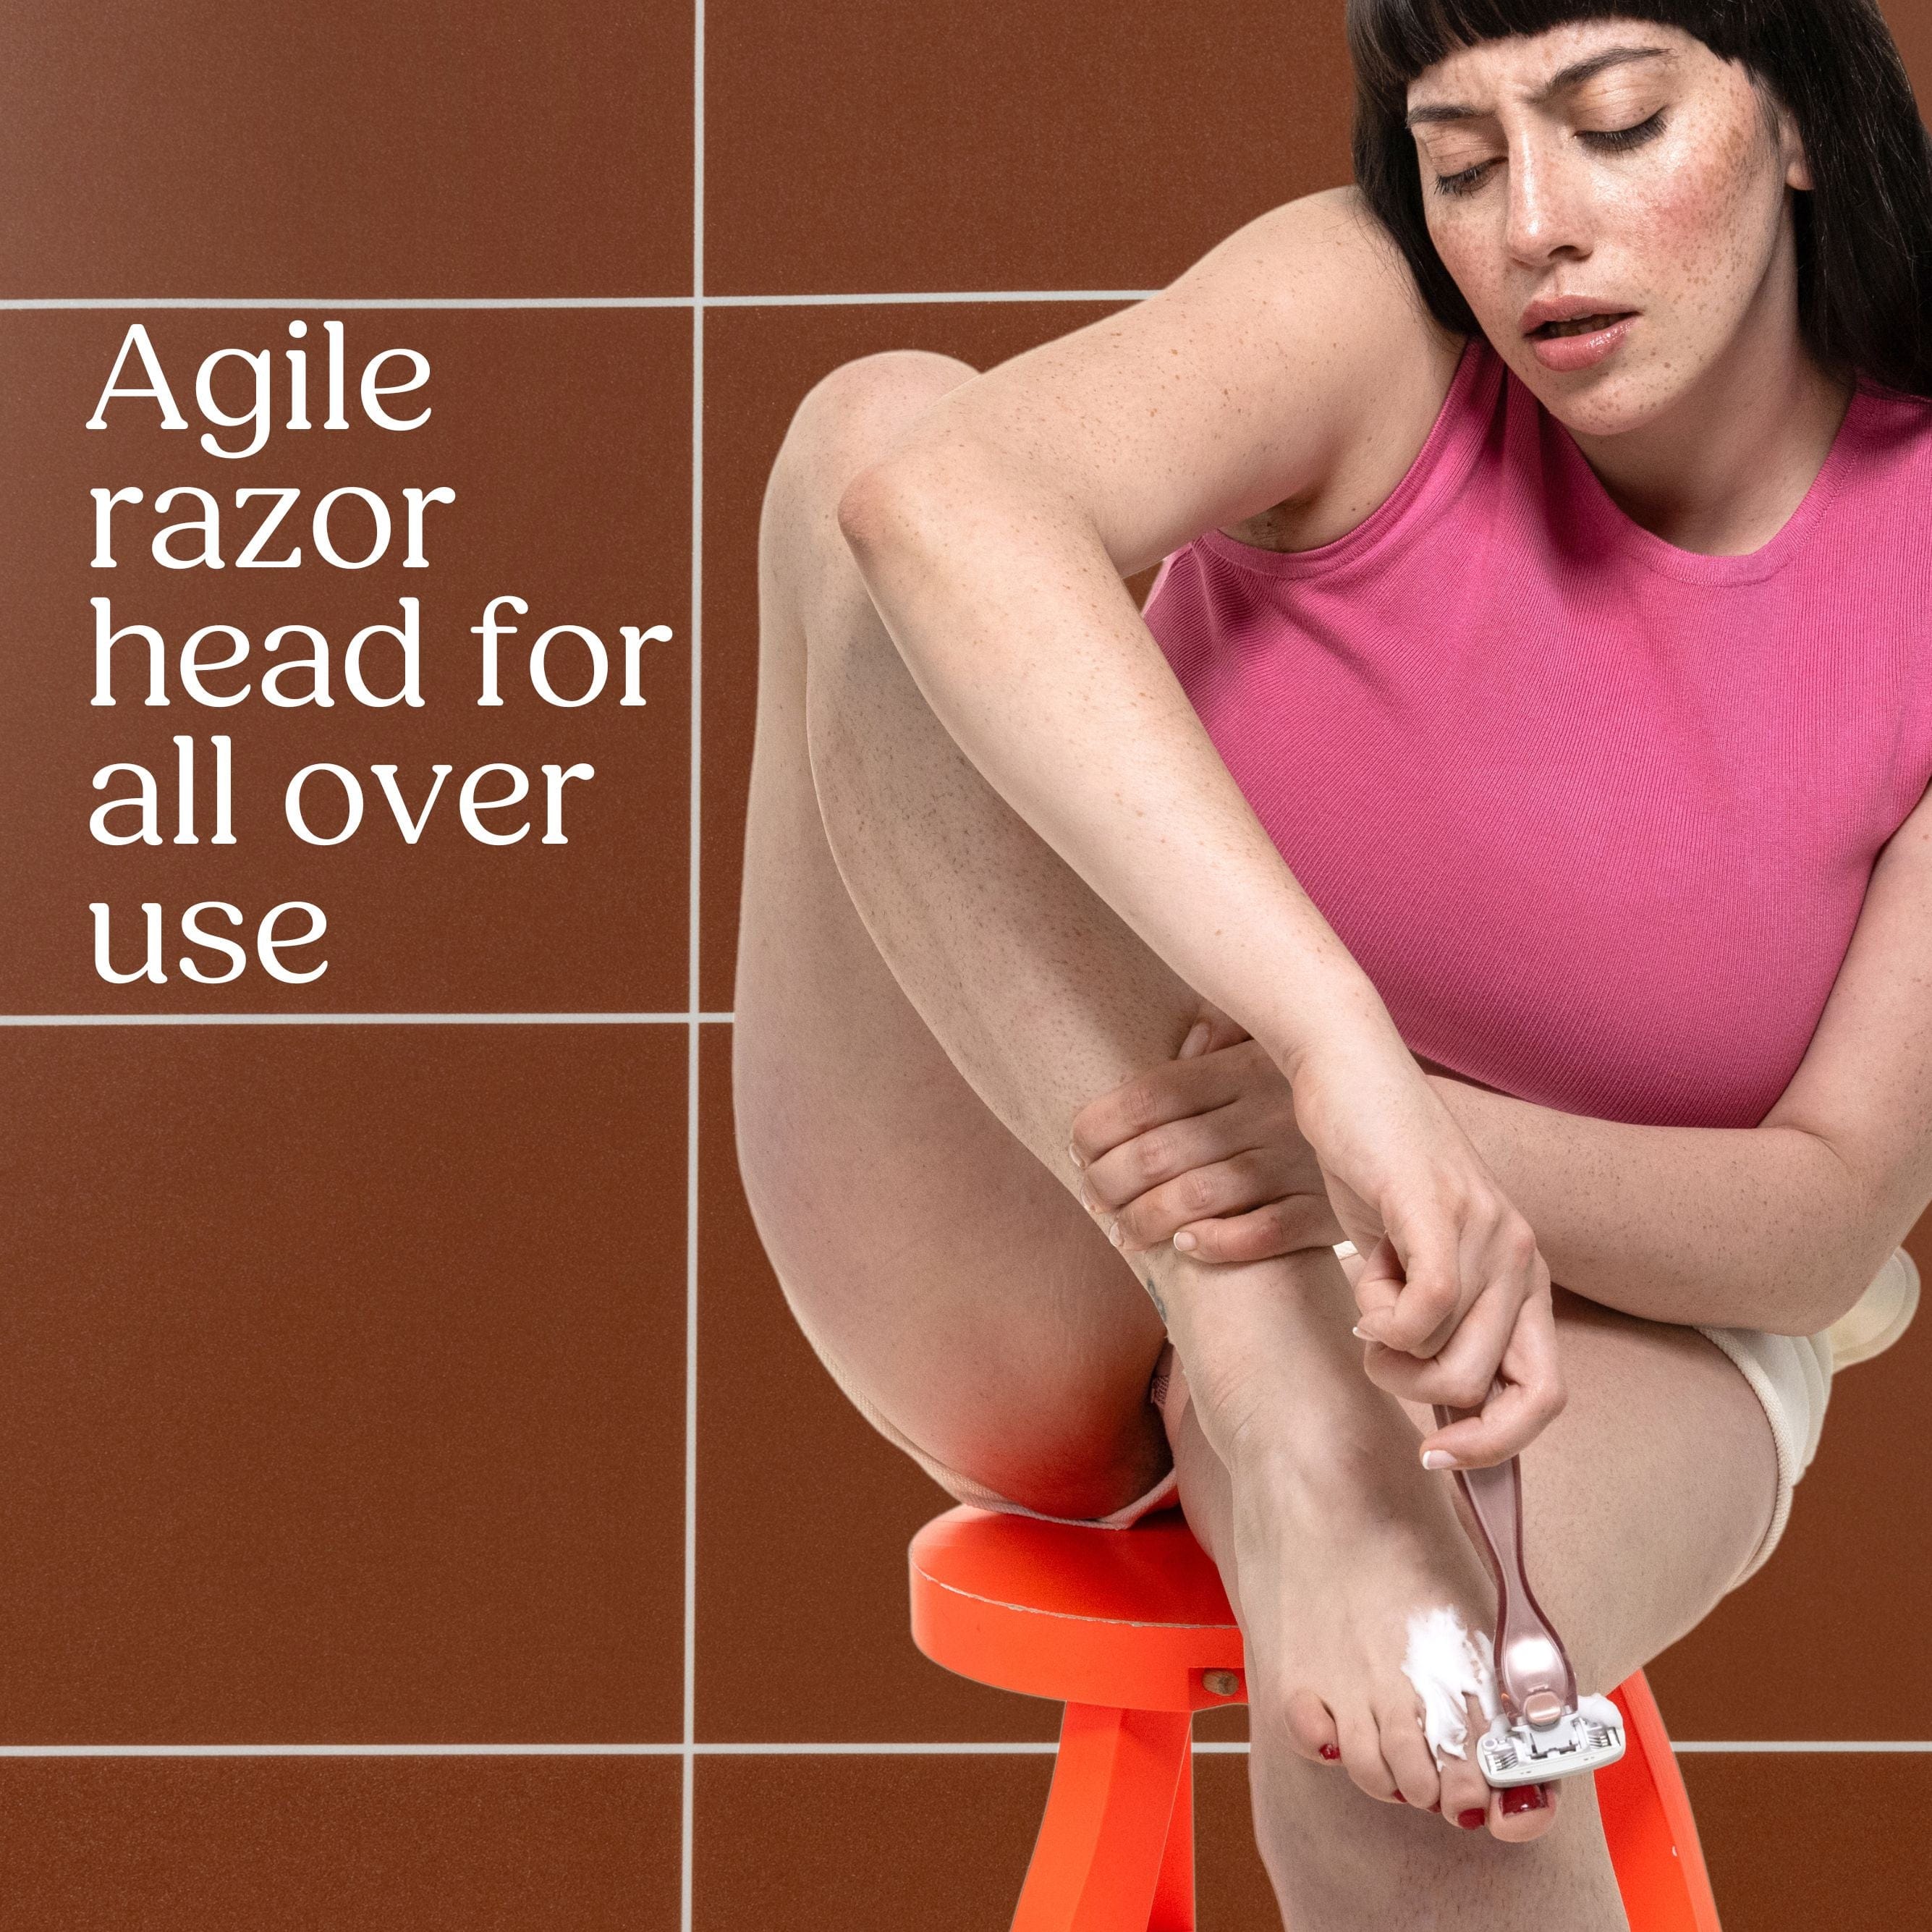
Shaving: Quickest and cheapest, but highest risk. A razor blade cuts hair with a blunt, sharp end that’s more likely to curve back into the skin.
-
Waxing and sugaring: Pulling hair from the root means no sharp tip, which theoretically reduces risk, though poor technique can lead to breakage.
-
Hair removal cream (depilatories): These dissolve rather than cut, which avoids sharp ends, but they may irritate sensitive skin.
-
Laser hair removal: Provides semi-permanent results by damaging the hair follicle. Clinical studies show significant reduction in both hair density and ingrown hair occurrence.
The truth about shaving direction: Always shave in the direction of hair growth rather than against it to prevent ingrown pubic hair and reduce irritation. The against-the-grain myth persists because it feels like a closer shave, but you’re essentially guaranteeing irritation.
Shaving Best Practices:
-
Use a clean, sharp, single blade razor. Replace dull blades every 5–7 shaves.
-
Hydrate skin before shaving with a shaving gel or shaving cream; never dry shave.
-
Exfoliate regularly (2–3 times a week) to remove dead skin cells that block follicles.
Ingredients to Look For:
-
Prevent: Salicylic acid, glycolic acid, retinoids, aloe, niacinamide.
-
Avoid: Dull blades, heavy fragrances, high alcohol content, and harsh physical exfoliants.
Step 7: Create your long-term prevention strategy
Treating ingrown hairs reactively is exhausting.
-
Daily skincare routine: Cleanse with a mild soap or facial cleanser. Moisturise with an unscented moisturising lotion. After hair removal, apply a soothing product containing aloe or niacinamide.
-
Wear loose clothing: Tight clothing creates the friction that pushes new hairs back into the skin.
-
Nightly treatment: Apply chemical exfoliants to zones prone to ingrowns, such as the pubic area and underarms.
-
Tool maintenance: Rinse blades with warm water after every shave to remove buildup. Sterilise tweezers and needles with alcohol wipes or boiling water.
-
Rest periods: Sometimes the best thing you can do is avoid shaving for a period to let the skin fully heal.
Track what works: Keep a simple record of which products and routines produce the best results for your specific skin type. Patterns emerge that help you refine your approach over time – because your skin is unique.
The goal isn’t perfection. It’s progress toward skin that doesn’t punish you for trying to remove pubic hair or body hair. Armed with the right knowledge and tools, you can treat and prevent ingrown hairs like the informed, empowered person you are. Your skin deserves nothing less.